Table Of Contents
Cleaning the Blower Wheel
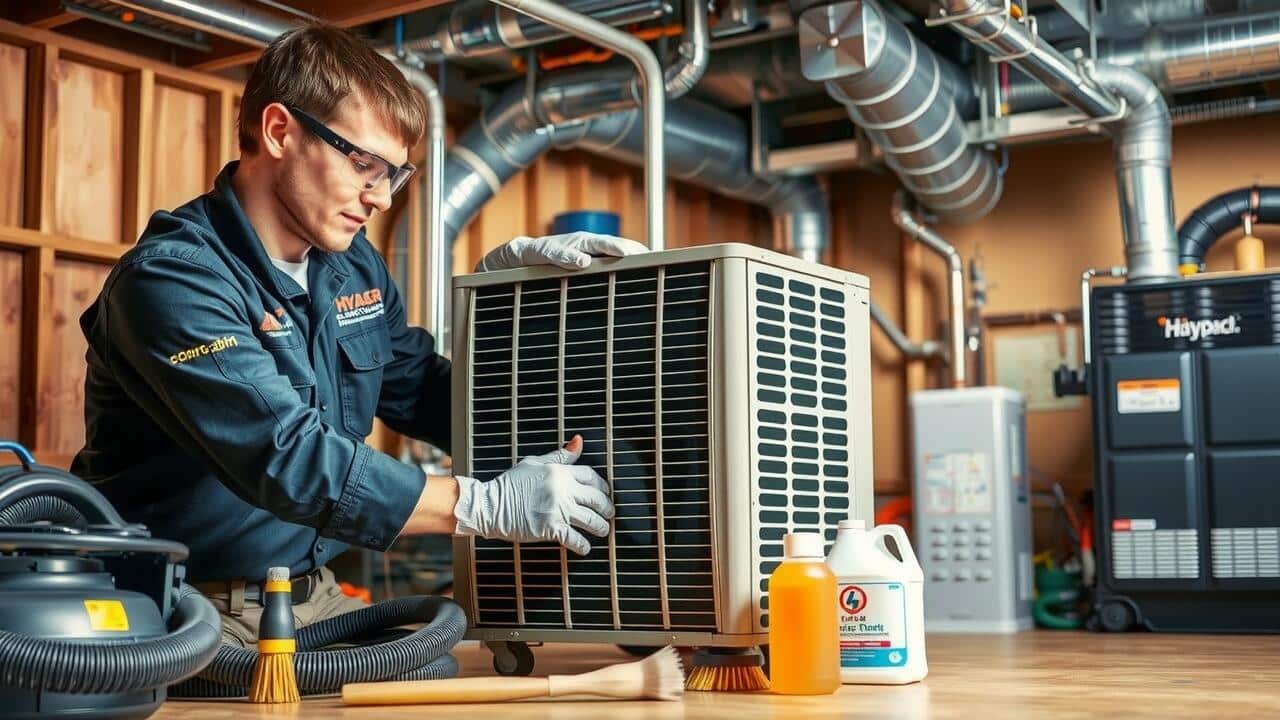
Cleaning the blower wheel is crucial for maintaining the efficiency of your air handler. Dust and debris can accumulate on the blades over time, which hinders airflow and can lead to system overheating. To start the cleaning process, ensure the power is turned off. Remove the access panel to expose the blower assembly. Gently detach the blower wheel from the motor shaft. Taking care to avoid bending or damaging the blades is essential.
Once the blower wheel is removed, use a soft brush or vacuum attachment to eliminate any loose dirt. For stubborn buildup, a damp cloth or sponge with mild detergent can be utilized. Rinse thoroughly to prevent residue from causing future issues. Regular Air Handler Cleaning ensures optimal performance and prolongs the life of the unit. After the cleaning process, recheck that everything is dry before reassembling the blower wheel and securing the access panel.
Techniques for Effective Cleaning
Techniques for effective cleaning are crucial to maintaining an efficient air handler. One effective method is using a vacuum with a brush attachment to remove dust and debris from the blower wheel. This helps prevent buildup, which can impede airflow and overall system performance. Regular air handler cleaning also involves using a soft cloth dampened with mild detergent to wipe down all accessible components. Cleaning agents should be non-corrosive to avoid damaging parts.
Another technique involves applying compressed air to blow out any stubborn dirt lodged in hard-to-reach areas. This method is particularly useful for clearing debris from the motor and other sensitive components. Always ensure the air handler is powered off before starting any cleaning activities. Implementing these techniques during air handler cleaning not only enhances the system’s efficiency but also extends its lifespan.
Cleaning the Housing
Cleaning the housing of an air handler is essential for maintaining optimal performance. Dust and debris can accumulate over time, hindering airflow and leading to inefficiency. Start by disconnecting the power supply to ensure safety. Use a vacuum with a brush attachment to remove loose dirt from all accessible areas of the housing. Pay special attention to corners and crevices, as these spots often trap more dust.
After vacuuming, dampen a microfiber cloth with a mild cleaning solution. Wipe down surfaces, including the exterior and any accessible internal panels. For stubborn stains or spots, a gentle scrub may be necessary. Remember to allow everything to dry fully before reassembling. Regular Air Handler Cleaning can significantly enhance the lifespan and efficiency of your air handler system.
Steps for a Thorough Housing Cleanup
To achieve an effective Air Handler Cleaning, start by removing any debris and dust accumulated in the housing. Use a vacuum cleaner equipped with a brush attachment for corners and crevices. Pay special attention to the areas around the filters, duct openings, and any vents connected to the air handler. A damp cloth can be helpful for wiping down surfaces, ensuring that you capture any stubborn dirt. Avoid harsh chemicals that might leave residues harmful to the air quality.
Next, inspect the housing for any signs of rust or corrosion. If you notice any affected areas, clean them with a suitable metal polish or cleaner. Ensure that all internal components are dry before reassembling. Safety is paramount, so switch off the power supply during this process. Keeping the housing clean plays a significant role in the overall efficiency of the air handler, contributing to better air quality and system performance.
Reassembling the Air Handler
Once you have completed the cleaning process, it is time to reassemble the air handler. Begin by carefully placing the blower wheel back into its designated position, ensuring it spins freely without any obstructions. Pay attention to the alignment of all components, as improper installation can lead to operational issues. It is essential to secure any fasteners or clips to prevent parts from loosening over time.
After securing the blower wheel, reinstall any casing or housing that was removed for access. Check for any screws or panels that need to be tightened. If applicable, reconnect any electrical connections, following the manufacturer’s guidelines for safety. Air Handler Cleaning requires attention to detail during reassembly to ensure the system operates efficiently. Once everything is in place, performing a final inspection can help identify any potential issues before powering the unit back on.
Tips for Properly Putting Everything Back
Reassembling the air handler after cleaning is crucial for ensuring its proper operation. Start by carefully placing the blower wheel back onto the motor shaft. Ensure the wheel is positioned correctly and that any securing clips or bolts are tightened to avoid any rattling or misalignment during operation. Inspect all wiring connections as you reassemble components. A mistake in reconnecting wires could lead to malfunctions or damage.
Once the blower is in place, restore the housing by aligning it with the associated gaskets. This seals the unit properly to maintain airflow efficiency. Double-check that all screws are tightened and that the door or access panel is securely fastened. Effective Air Handler Cleaning leads to optimal performance, so taking the time to ensure everything fits properly pays off in the long run. Checking the integrity of filters should be the final step before powering the unit back on.
FAQS
Why is it important to clean the air handler blower?
Cleaning the air handler blower is essential for maintaining efficient airflow, improving indoor air quality, and prolonging the lifespan of the HVAC system.
How often should I clean my air handler blower?
It is recommended to clean your air handler blower at least once a year, preferably before the heating or cooling season, to ensure optimal performance.
What tools do I need to clean the air handler blower?
Basic tools for cleaning the air handler blower typically include a screwdriver, a vacuum with a brush attachment, a soft cloth, and possibly a gentle cleaning solution.
Can I clean the air handler blower myself, or should I hire a professional?
Many homeowners can clean the air handler blower themselves if they follow safety precautions and instructions. However, if you’re unsure or uncomfortable, hiring a professional is advisable.
What should I do if I notice excessive dust or mold in the air handler?
If you notice excessive dust or mold, it’s important to clean these areas thoroughly and consider using a disinfectant. If the issue persists, consult a professional HVAC technician for a more comprehensive inspection.